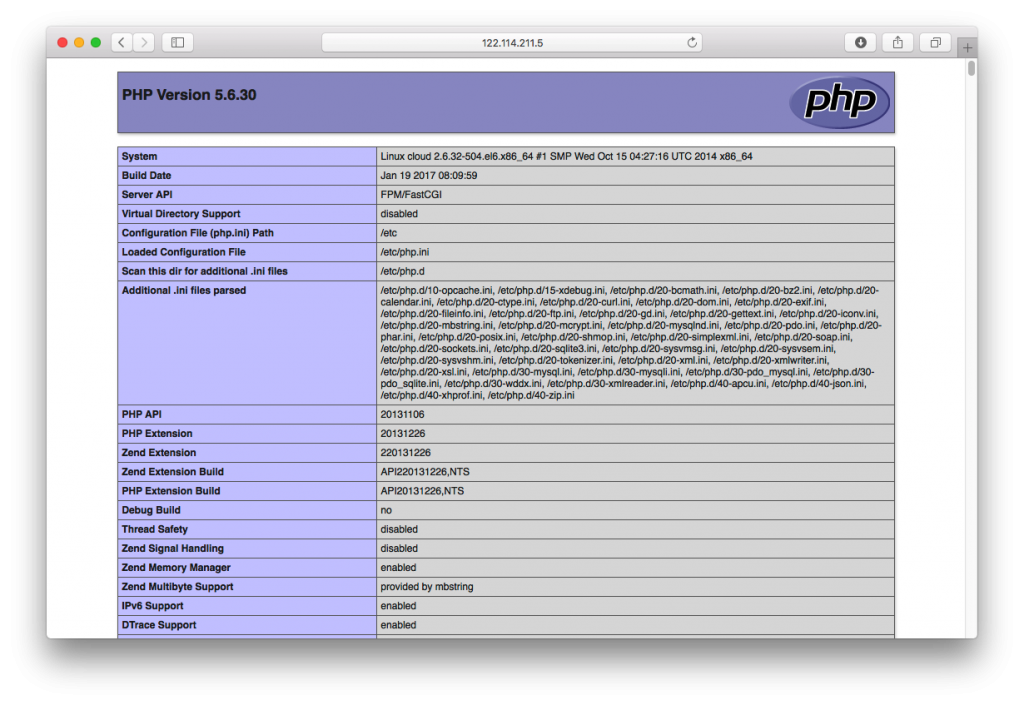
平时都是使用军哥的lnmp的一键环境安装包, 但是最近军哥的lnmp1.3 安装的时候总是出问题,虽然他推出了1.4测试版解决的问题,但是真正的生产环境下 怎么能用测试版本的! 那就手动使用yum手动配置lnmp环境吧。也很简单,比用一键安装包快多了!!!
首先就是防火墙的80端口 要打开,数据库的3306端口看自己的需求是否需要打开!
vim /etc/sysconfig/iptables
################################ 添加好之后防火墙规则如下所示################################
# Firewall configuration written by system-config-firewall
# Manual customization of this file is not recommended.
*filter
:INPUT ACCEPT [0:0]
:FORWARD ACCEPT [0:0]
:OUTPUT ACCEPT [0:0]
-A INPUT -m state --state ESTABLISHED,RELATED -j ACCEPT
-A INPUT -p icmp -j ACCEPT
-A INPUT -i lo -j ACCEPT
-A INPUT -m state --state NEW -m tcp -p tcp --dport 22 -j ACCEPT
-A INPUT -m state --state NEW -m tcp -p tcp --dport 80 -j ACCEPT
-A INPUT -m state --state NEW -m tcp -p tcp --dport 3306 -j ACCEPT
-A INPUT -j REJECT --reject-with icmp-host-prohibited
-A FORWARD -j REJECT --reject-with icmp-host-prohibited
COMMIT
#######################################################################################
重启防火墙,让修改的配置生效
/etc/init.d/iptables restart
首先安装 nginx
vim /etc/yum.repos.d/nginx.repo
写入:
[nginx]
name=nginx repo
baseurl=http://nginx.org/packages/centos/$releasever/$basearch/
gpgcheck=0
enabled=1
保存后,就可以使用yum安装nginx了
yum install nginx -y

#安装好后,首先启动nginx
service nginx start   #启动nginx
service nginx stop    #关闭nginx
service nginx restart #重启nginx
接着安装php 和php-fpm
yum install epel-release
如果是CentOS6 请执行这两行:
wget http://rpms.remirepo.net/enterprise/remi-release-6.rpm
rpm -Uvh remi-release-6.rpm
如果是CentOS7 请执行这两行:
wget http://rpms.remirepo.net/enterprise/remi-release-7.rpm
rpm -Uvh remi-release-7.rpm
修改remi源的配置文件
vim /etc/yum.repos.d/remi.repo

#将其中 [remi] 下的enabled=0改为1,保存退出,配置完成。
我要安装php5.6版本的,所有先查看有没有php5.6的版本吧
yum list --enablerepo=remi --enablerepo=remi-php56 | grep php
应为咱们安装了remi源 所以肯定有php5.6版本的,所以直接安装吧
yum install --enablerepo=remi --enablerepo=remi-php56 php php-opcache php-pecl-apcu php-devel php-mbstring php-mcrypt php-mysqlnd php-phpunit-PHPUnit php-pecl-xdebug php-pecl-xhprof php-pdo php-pear php-fpm php-cli php-xml php-bcmath php-process php-gd php-common
最后安装 mysql
yum install -y mysql-server mysql mysql-deve
以上全部安装完毕了,接下来就是修改配置文件了。首先新建一个用户组和一个用户
groupadd www
useradd -g www www
修改php-fpm的配置文件
vim /etc/php-fpm.d/www.conf

#修改用户为www
user = www
#修改组为www
group = www
修改nginx配置文件
vim /etc/nginx/conf.d/default.conf
################################ 修改好的ngin配置如下所示################################
server {
    listen       80;
    server_name  localhost;

    root   /usr/share/nginx/html;
    index  index.php index.html index.htm;

    error_page  404              /404.html;

    location ~ \.php$ {
        fastcgi_pass   127.0.0.1:9000;
        fastcgi_index  index.php;
        fastcgi_param  SCRIPT_FILENAME $document_root$fastcgi_script_name;
	include        fastcgi_params;
    }
}
修改好后 重启php-fpm和 nginx
service nginx restart && service php-fpm restart
然后在网站根目录新建一个index.php, 访问你的服务器ip即可看到php代码运行结果


